|
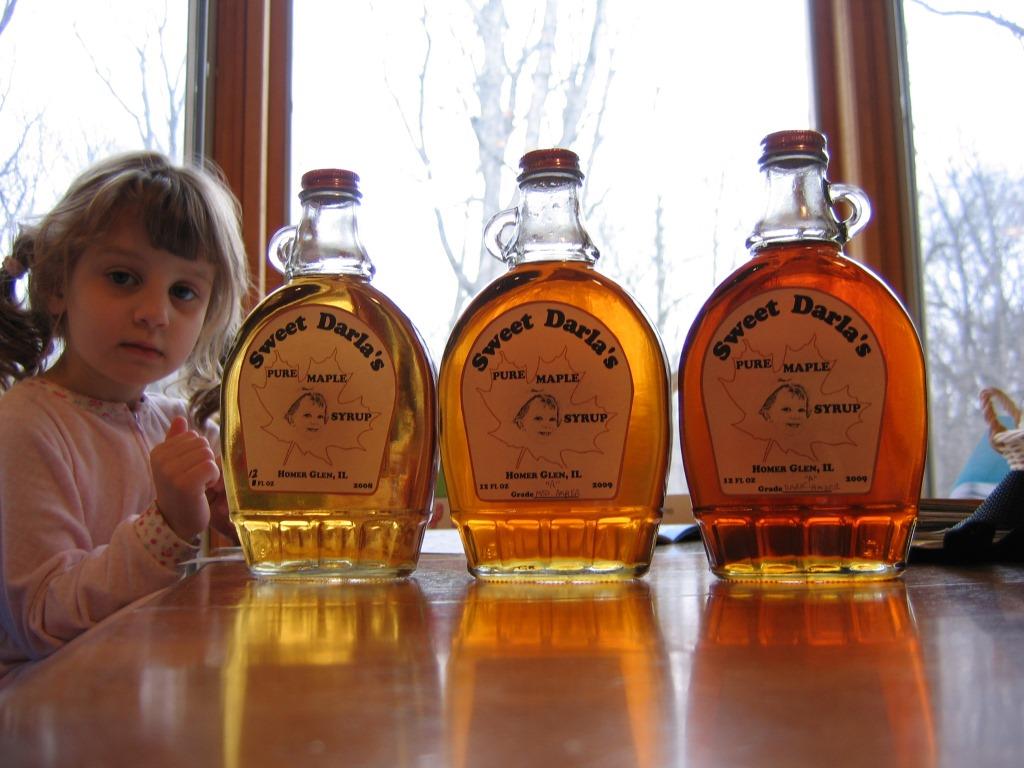
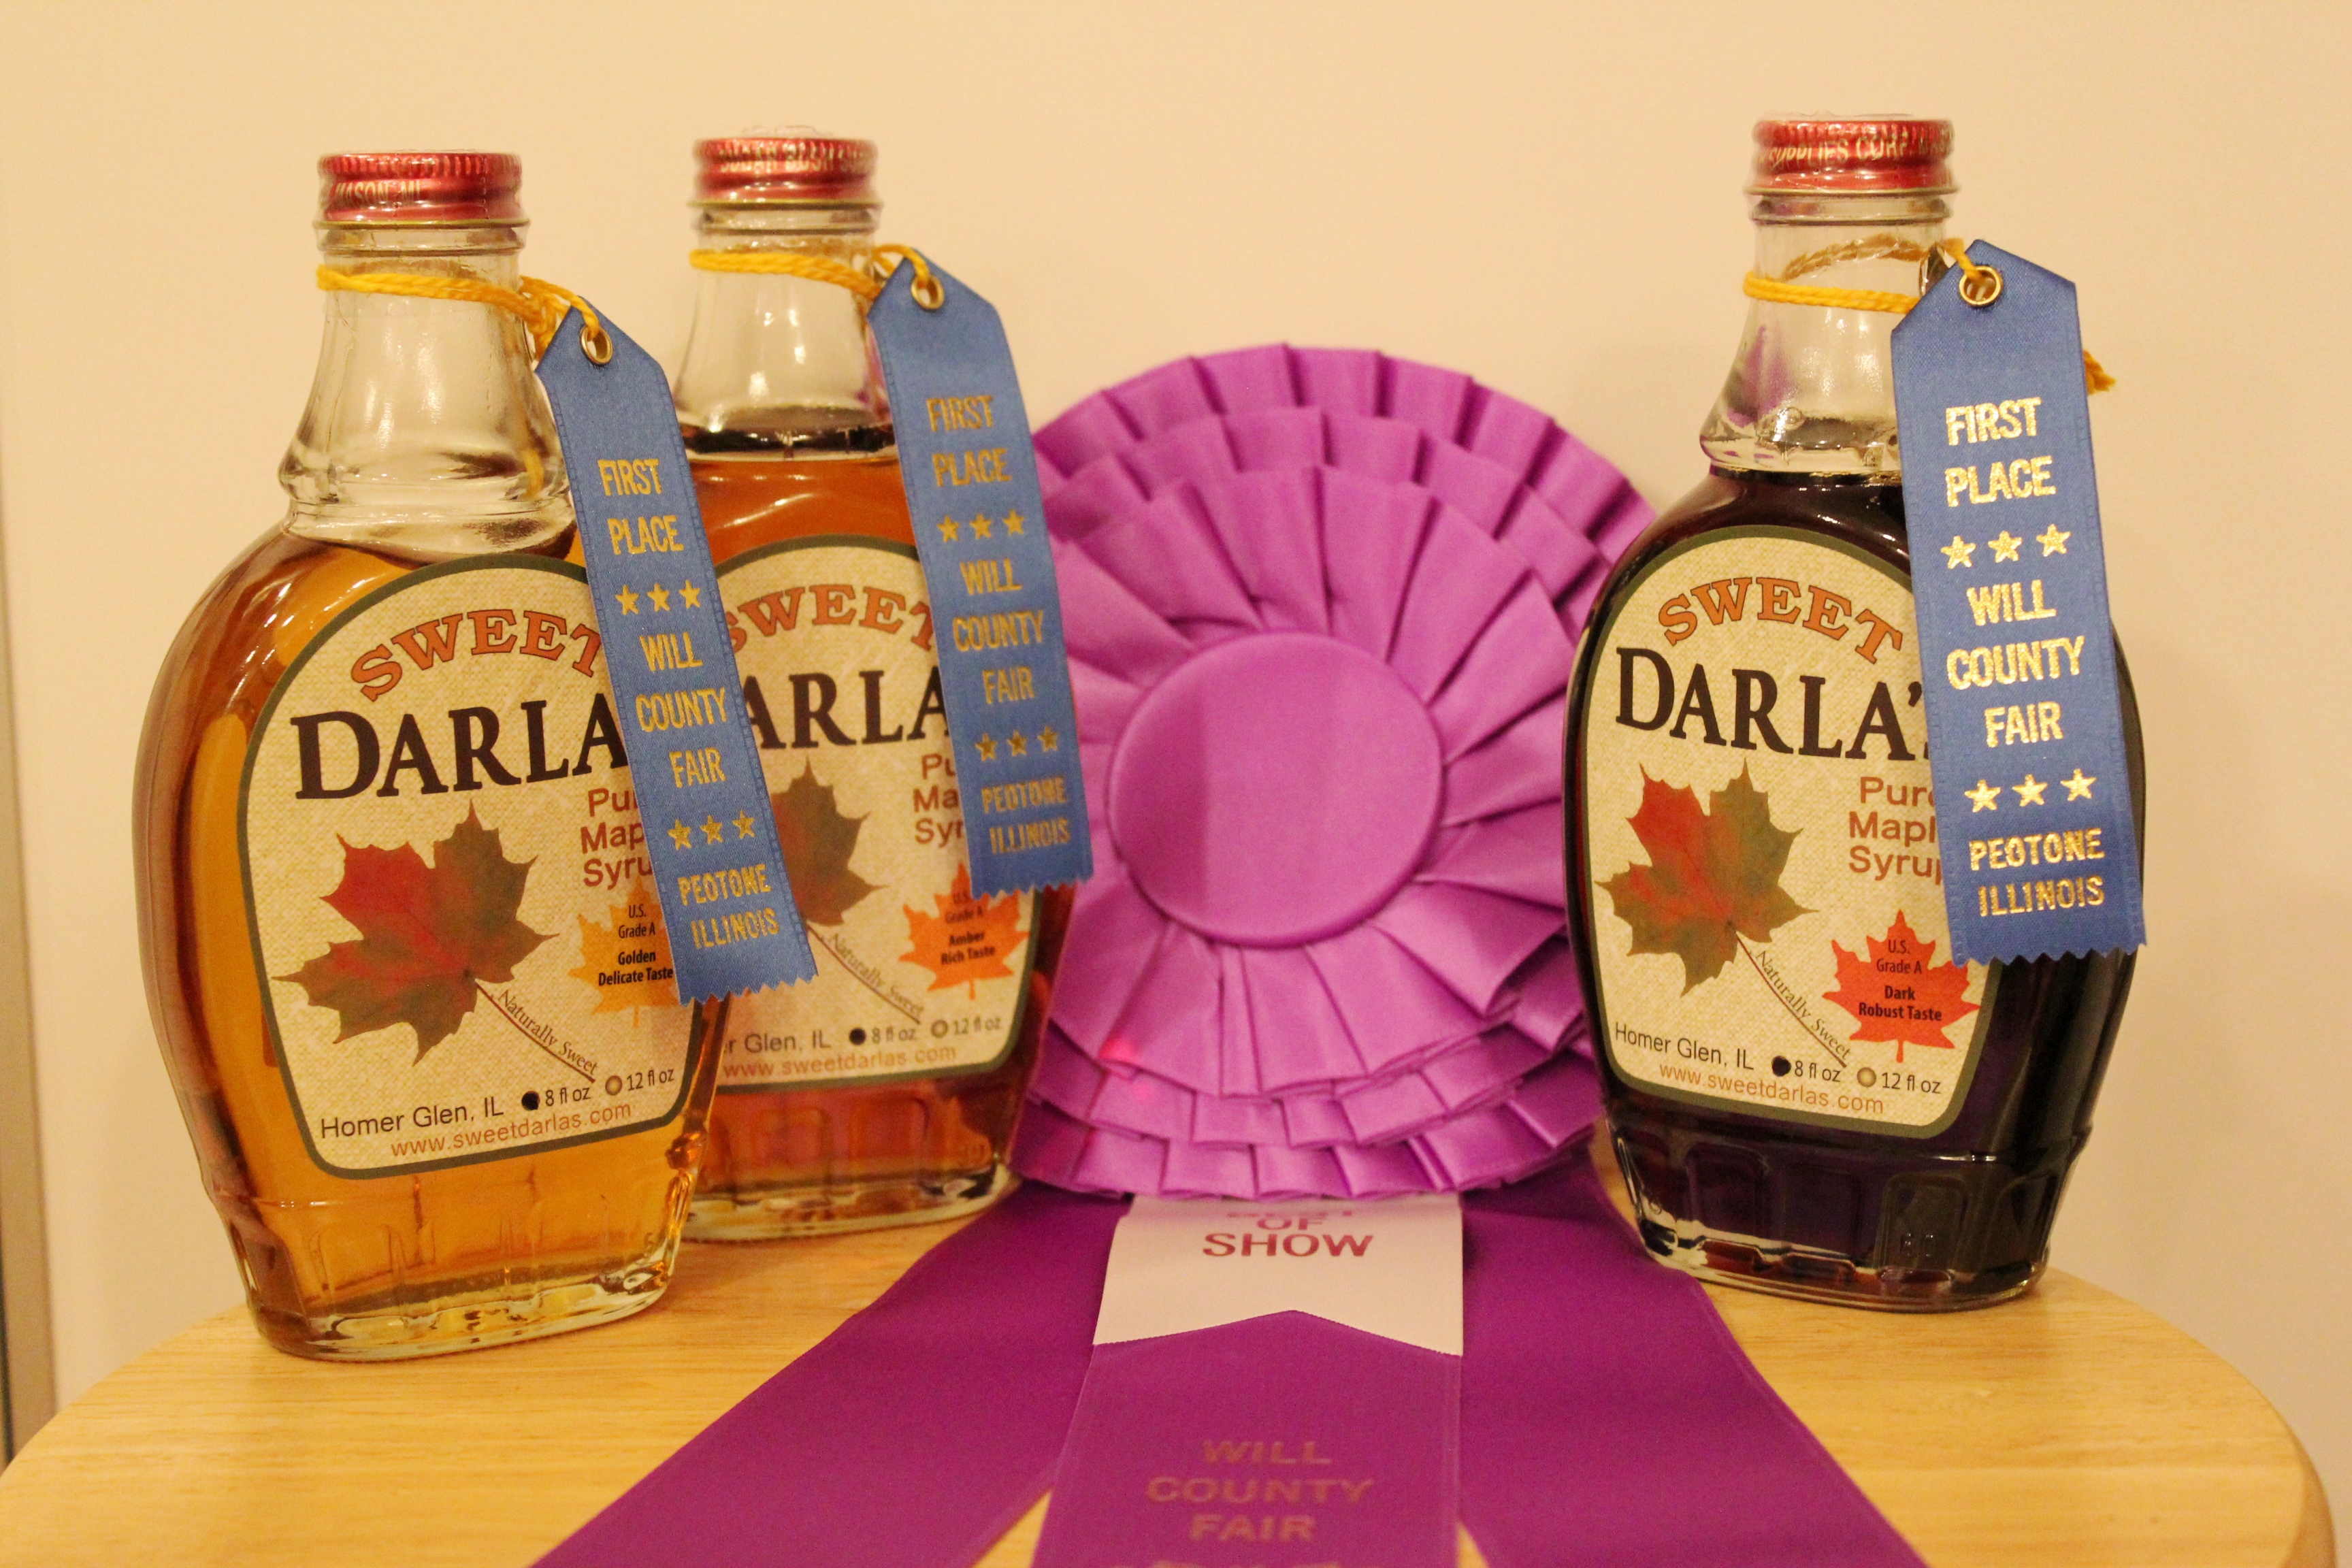
Welcome to the website for Sweet Darla's Pure Maple Syrup. We have been producing Sweet Darla's on a small scale from our homestead in Homer Glen, IL, since 2007. Our syrup is not sold in stores (or outside of stores), so if you were lucky enough to receive a bottle as a gift, please enjoy it.
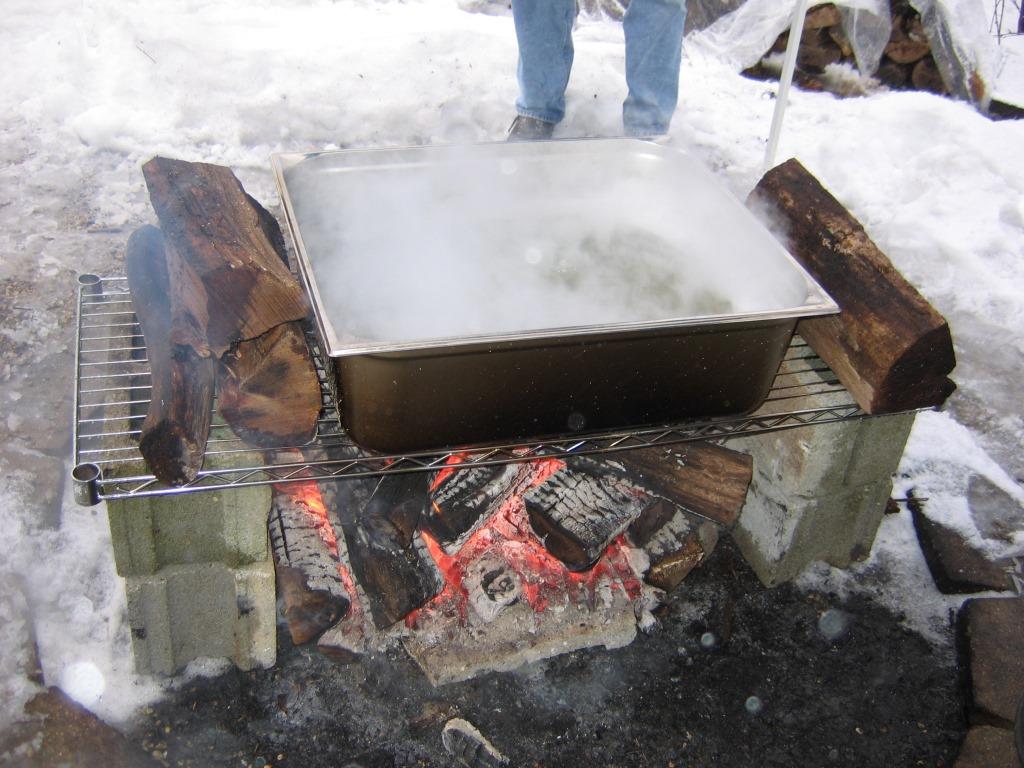
Here is the history of our maple syrup operation and some information on how Sweet Darla's is made: In 2005 or 2006, after noticing an abundance of sugar maple trees on our property, I read up on the process of making maple syrup. I was suprised to find out that all you have to do is boil the sap down to remove most of the water and what is left is maple syrup. So I did an experiment in 2007 with about a quart of sap taken from a single tap. After boiling it down, I was left with a few tablespoons of syrup - and it tasted Incredible!. I immediately began making plans for a small-scale sugaring (maple syrup producing) operation. 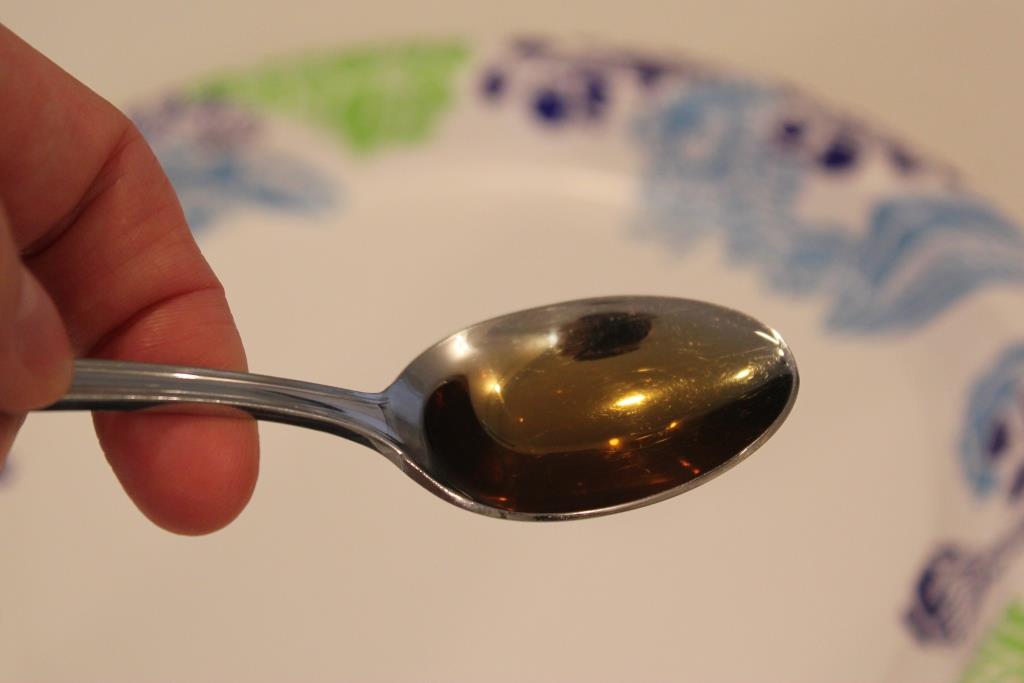 In 2007 I tapped 5 trees and, with the help of my friend Clarke, made our first official batch of syrup. We boiled the sap in a food-service steam tray suspended over an open fire by means of a wire shelf from Walmart supported by cinder blocks. We had to keep the fire very hot by continuously feeding it with small pieces of wood. It was A LOT of work and took a LONG time (you only get 1 gallon of syrup out of 40 gallons of sap after it is boiled down). In the end, we were thrilled with the incredible quality of the syrup we had made. It was so much better than the off-the-shelf "syrup" which is only a few percent real maple syrup, if any at all. It was even better than store bought pure maple syrup.
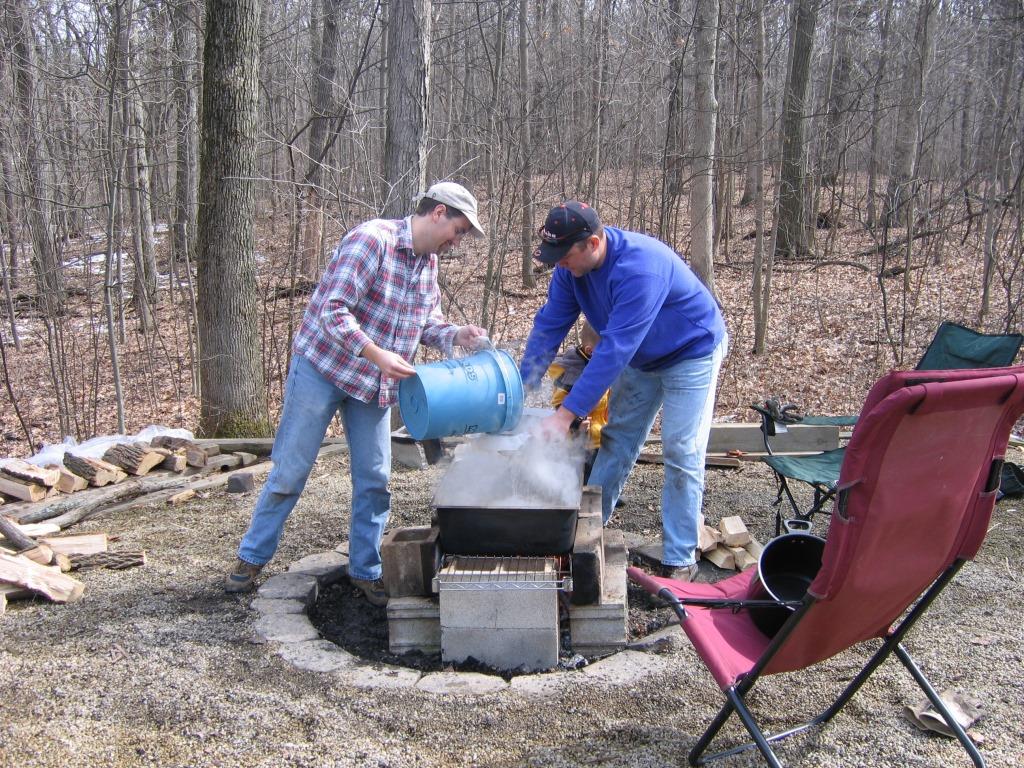
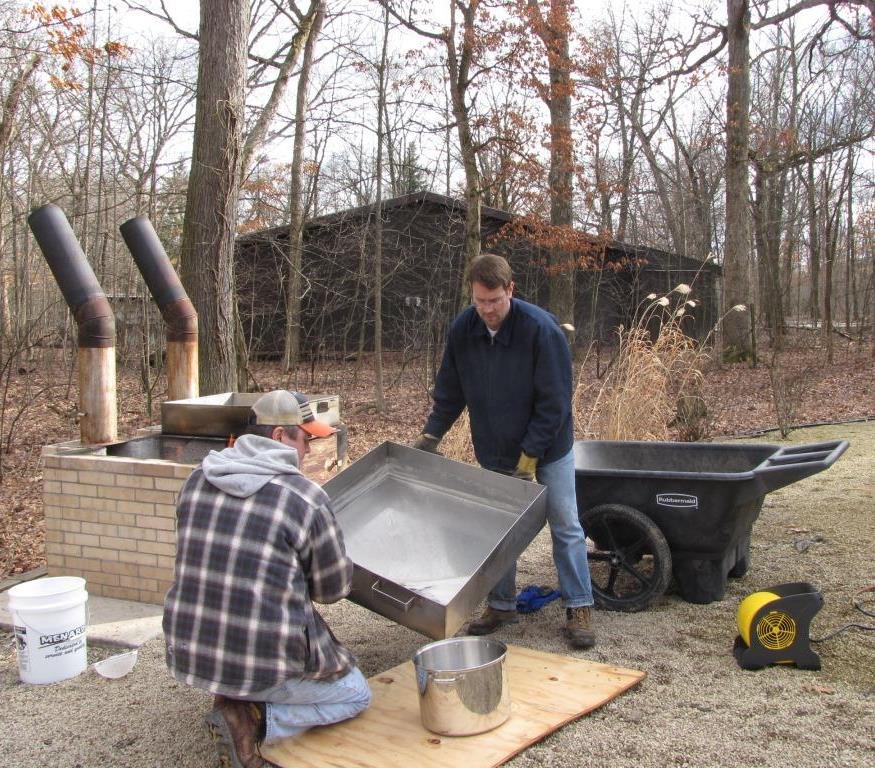
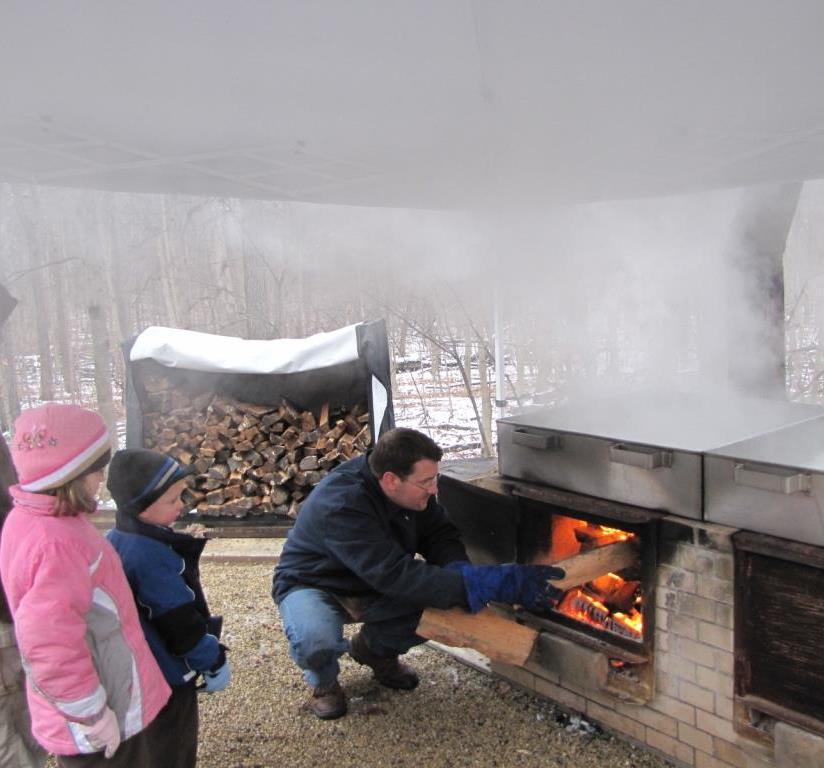
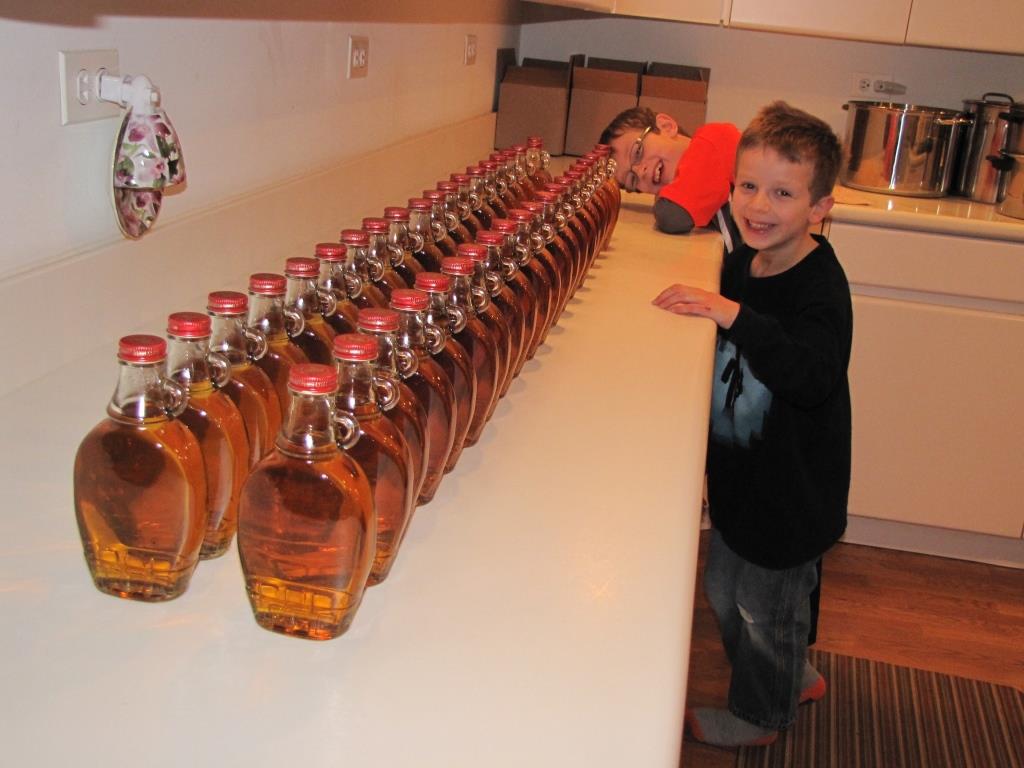
With 2008 came bigger plans, which resulted in the need to boil sap more quickly and efficiently. I designed an oven made from fire brick that would hold two double-wide, extra-deep steam trays over separate enclosed wood-fueled fires. With my brother's welding expertise, I fabricated the metal pieces and stacked the brick because I ran out of time to have the masonry work done before the start of the season. The exhaust stacks were 6-inch diameter stove pipe and each one had a butterfly damper valve to help control the burn rate of the wood. The new ovens worked much better than the campfire method, but the steam trays were hard to maneuver. 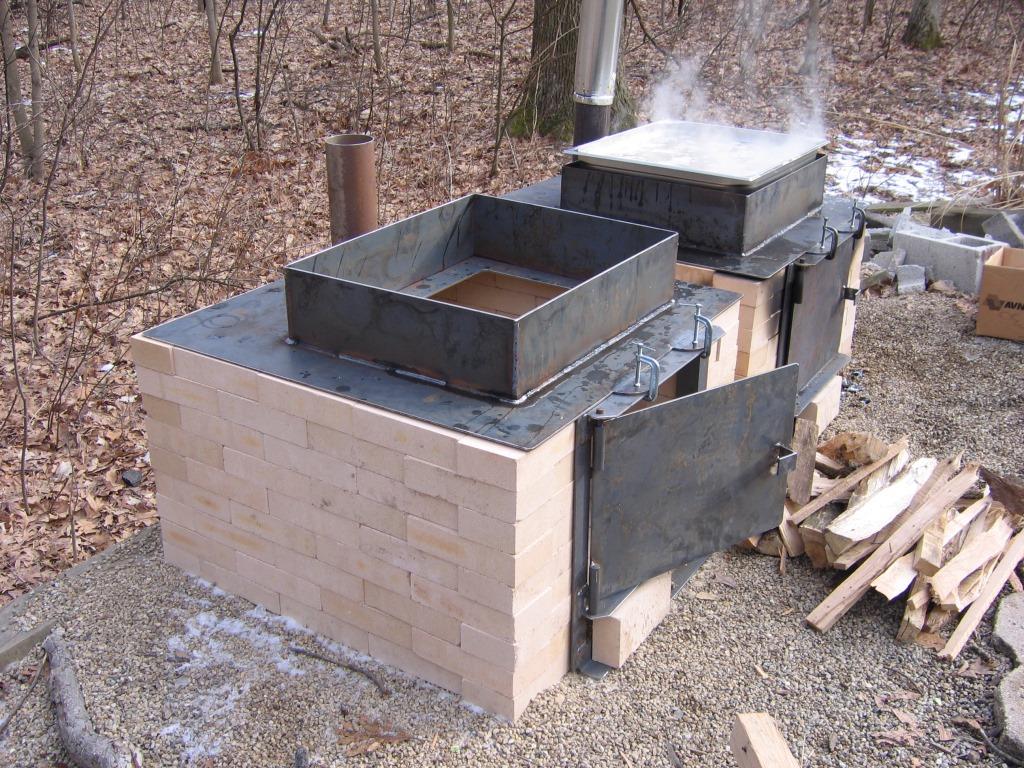 In 2009, I rebuilt the new oven with firebrick and mortar. I also designed new larger stainless steel evaporation pans and larger 8-inch stacks with damper valves. This new design worked extremely well and is still in use today, although the brickwork has been redone a couple of times because of cracking caused by the intense heat over many hours of boiling sap. 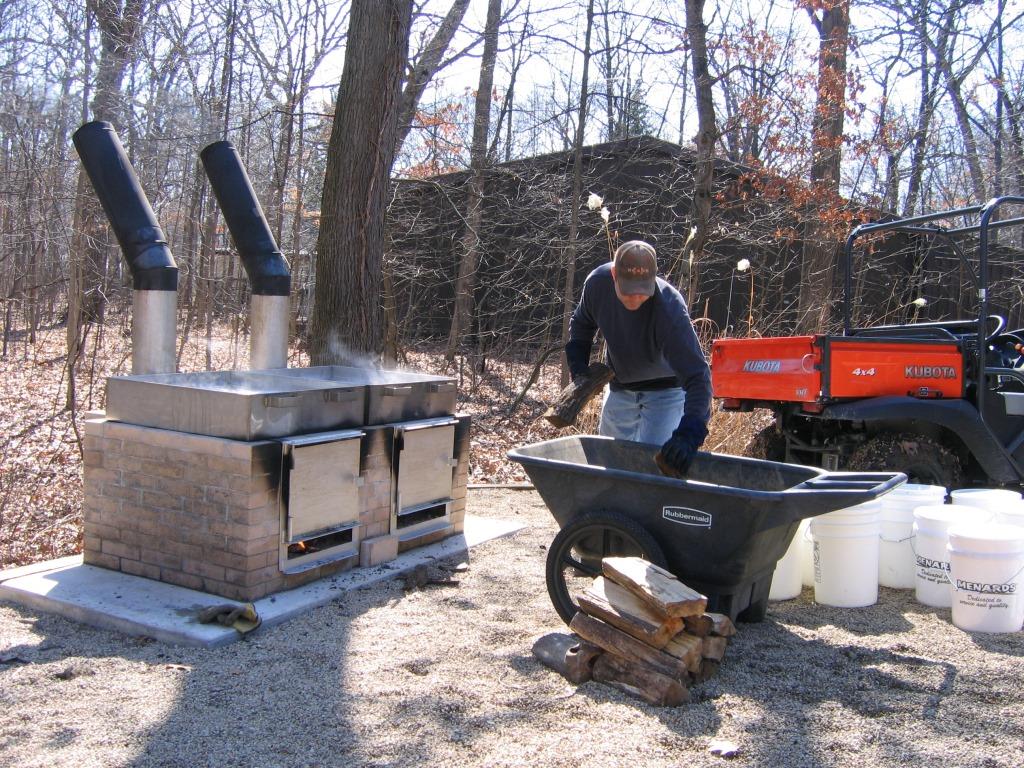 Over the years, my kids have become more involved in making the syrup, which was part of the plan in the first place. Although, as they have gotten older, sometimes it takes some convincing.
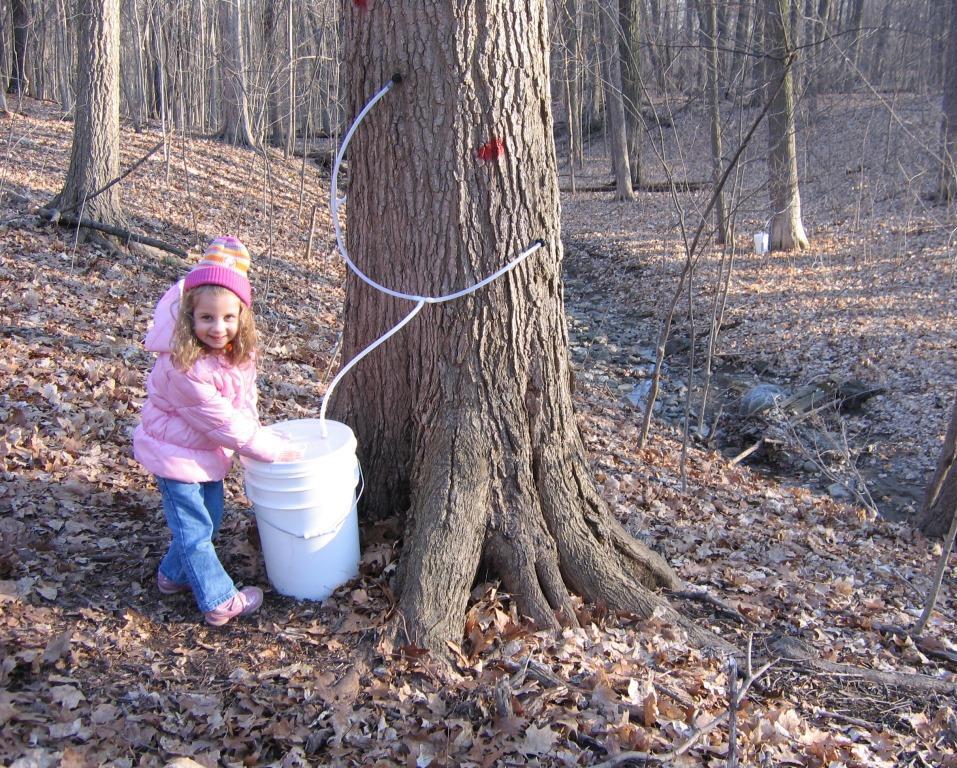
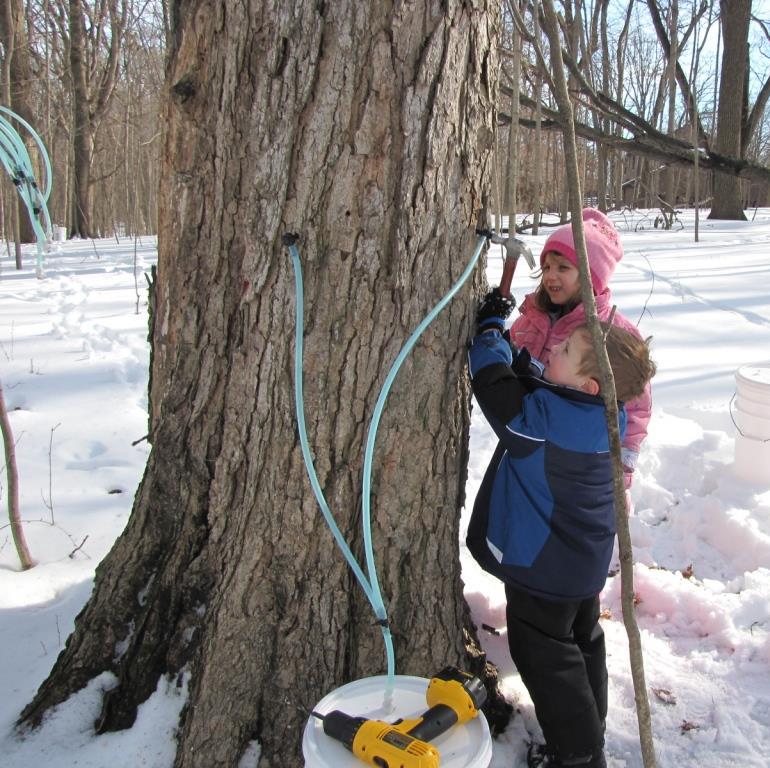
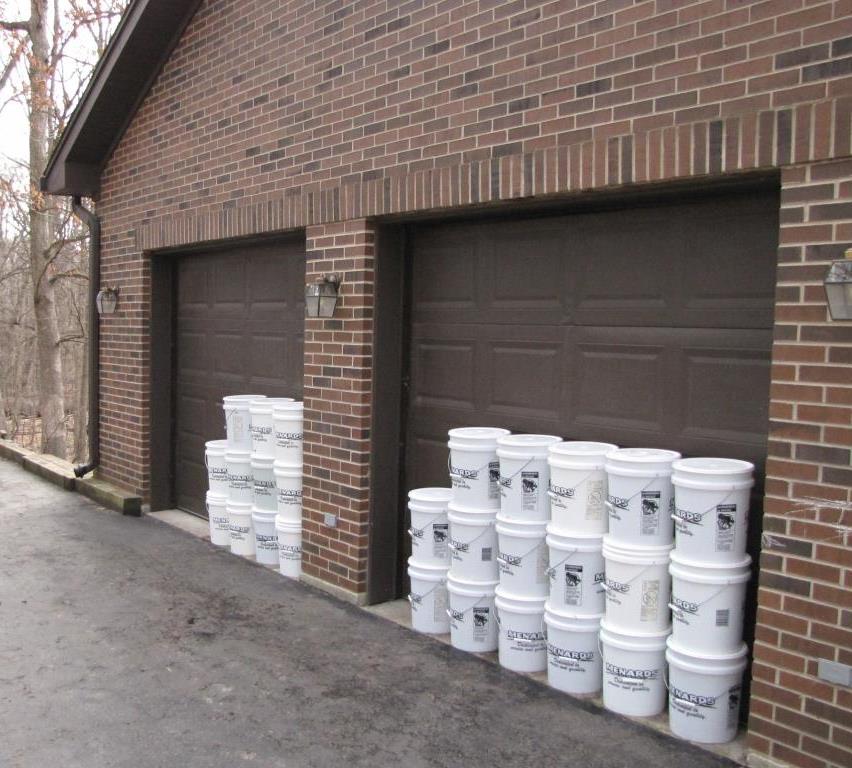
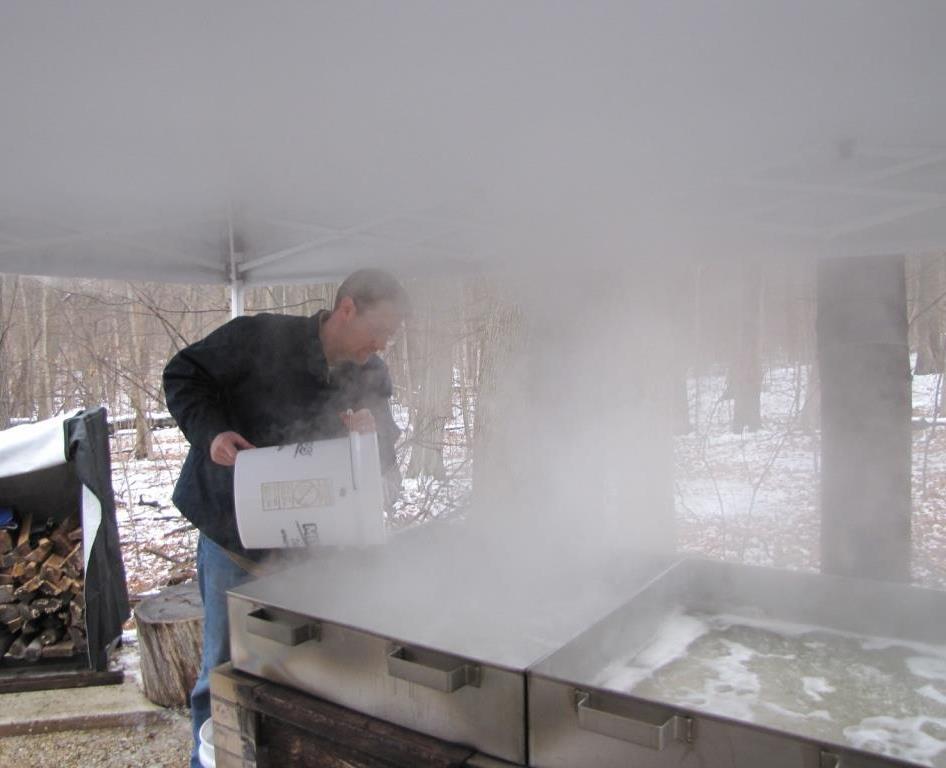
Making maple syrup takes endurance. Boiling sessions often start many hours before dawn and can last up to 24 hours with a large batch of sap (we now put over 30 taps in the trees). One of the most demanding parts of the job is moving sap around: carrying full 5-gallon buckets through the woods, storing the sap, dumping them into the pans, and managing the sap in-process.
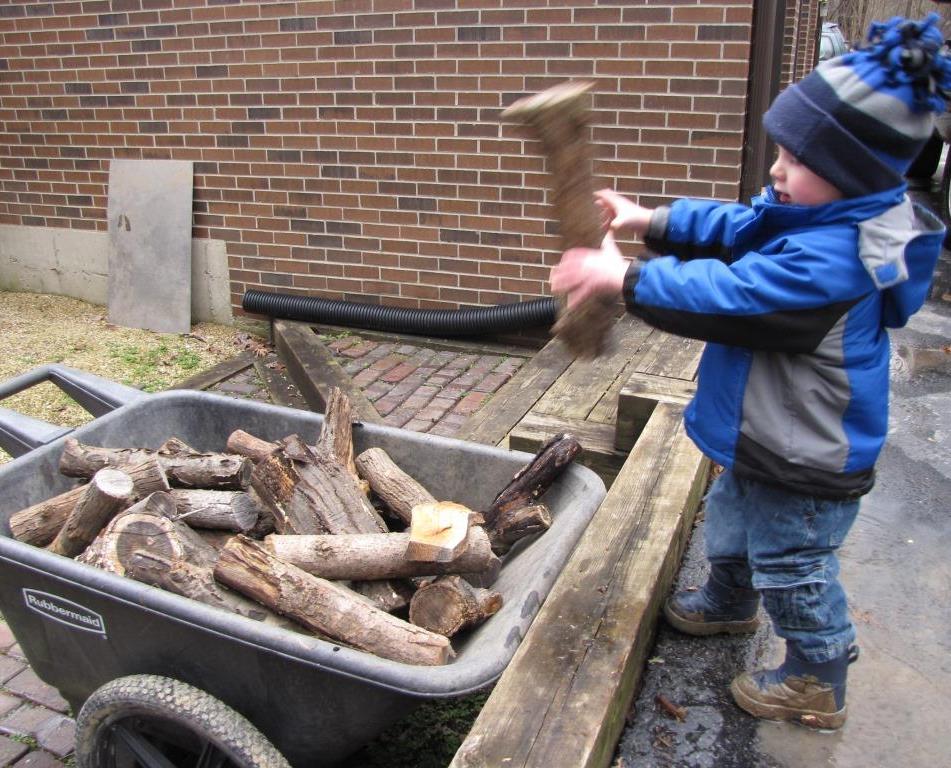
Keeping the sap boiling is no small task either, but extremely important. It requires keeping the fire stocked with firewood and adjusting the air flow through the stacks as necessary throughout the day - not to mention the preliminary work of cutting, splitting, and stacking the firewood.
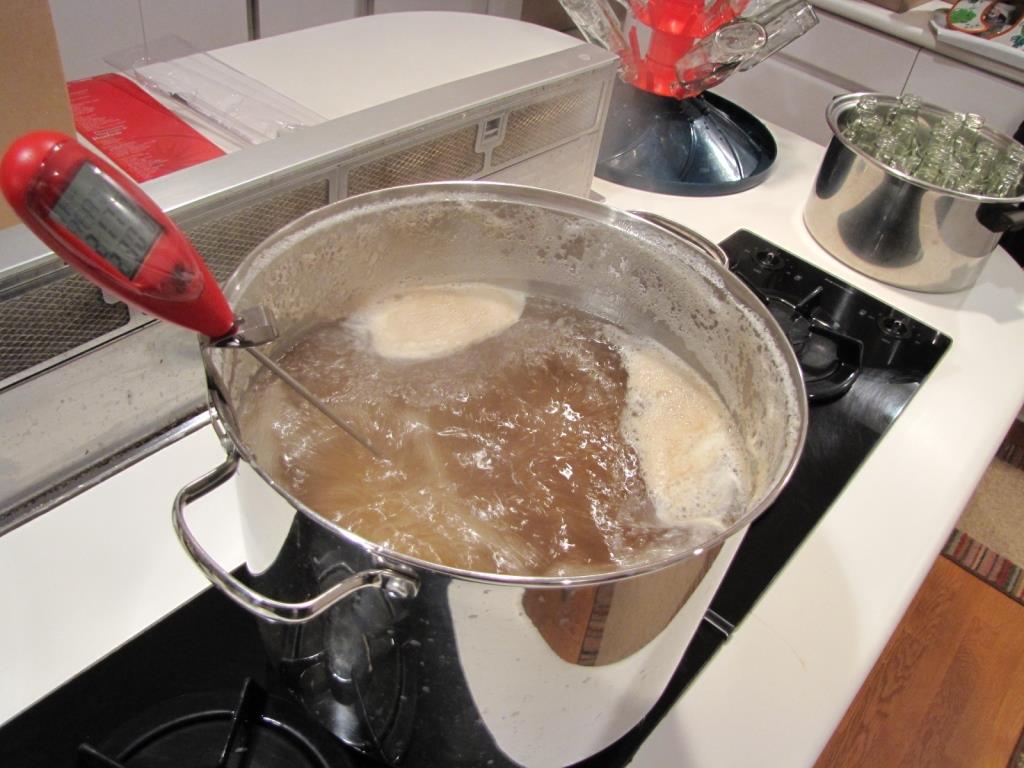
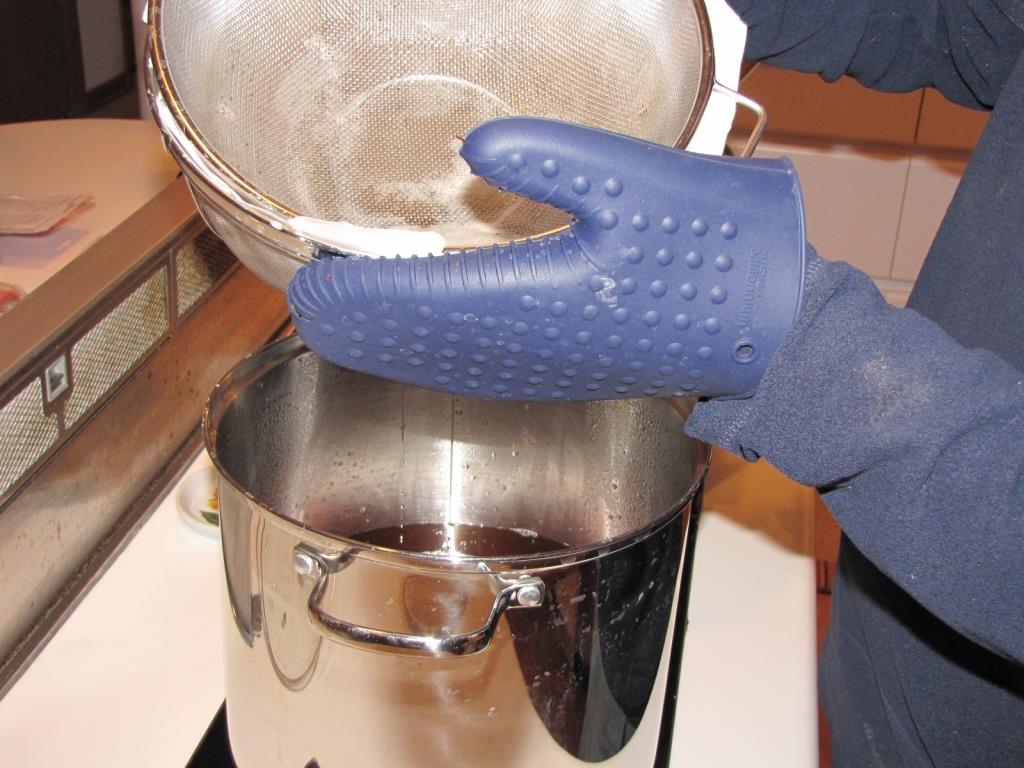
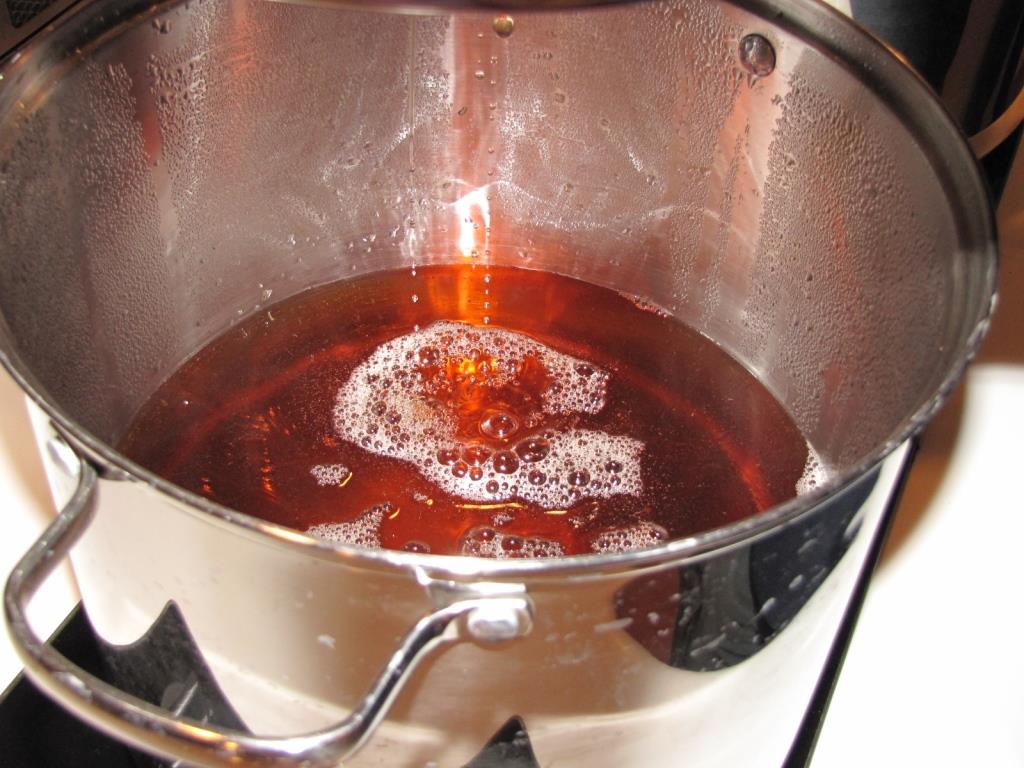
Once in a while, in-between the tasks of the day, I take time to look around and enjoy the scenery. Maple syrup season happens during the transition from hard winter to early spring (late February to late March), so we usually start when it is cold and snowy and finish up the season when it is very pleasant.  When the sap reaches the consistency of boiling motor oil, it's time to dump it into a large stock pot and take it inside. The boiling continues on the stove, under more controlled conditions, until the sap reaches about 9 degrees above the boiling temperature of water. During this stage, it is much easier for the sap to boil over and make a big sticky mess. At the end of this stage, the sap is now finished maple syrup. It is passed through a set of filters and is ready to be bottled.
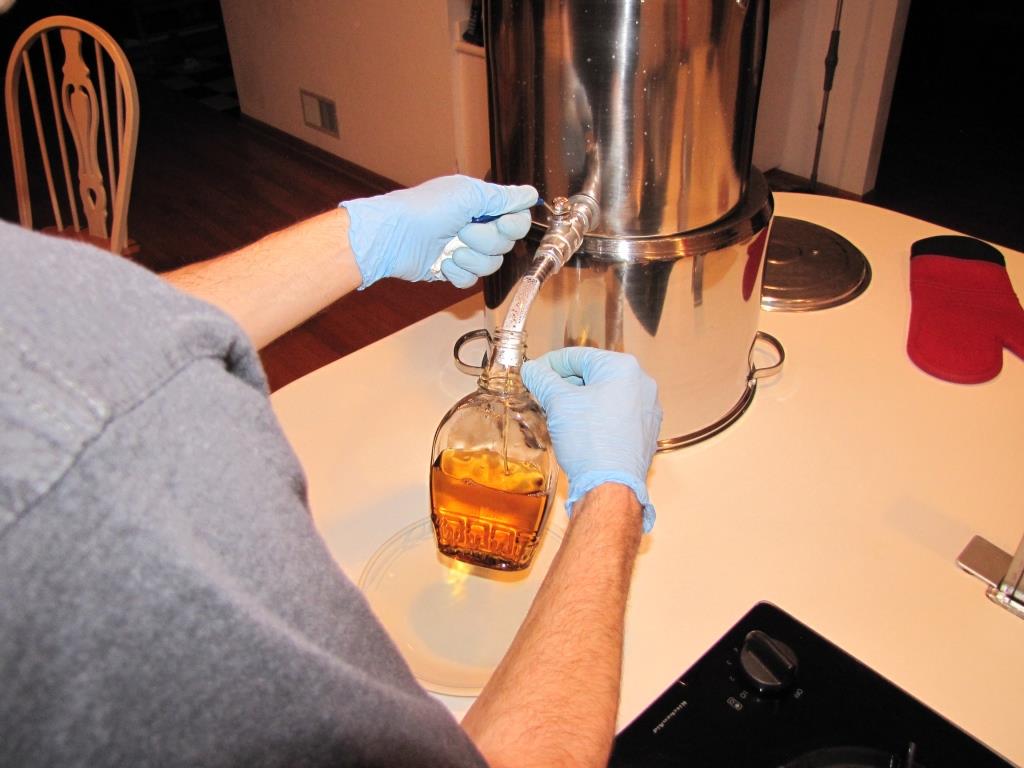
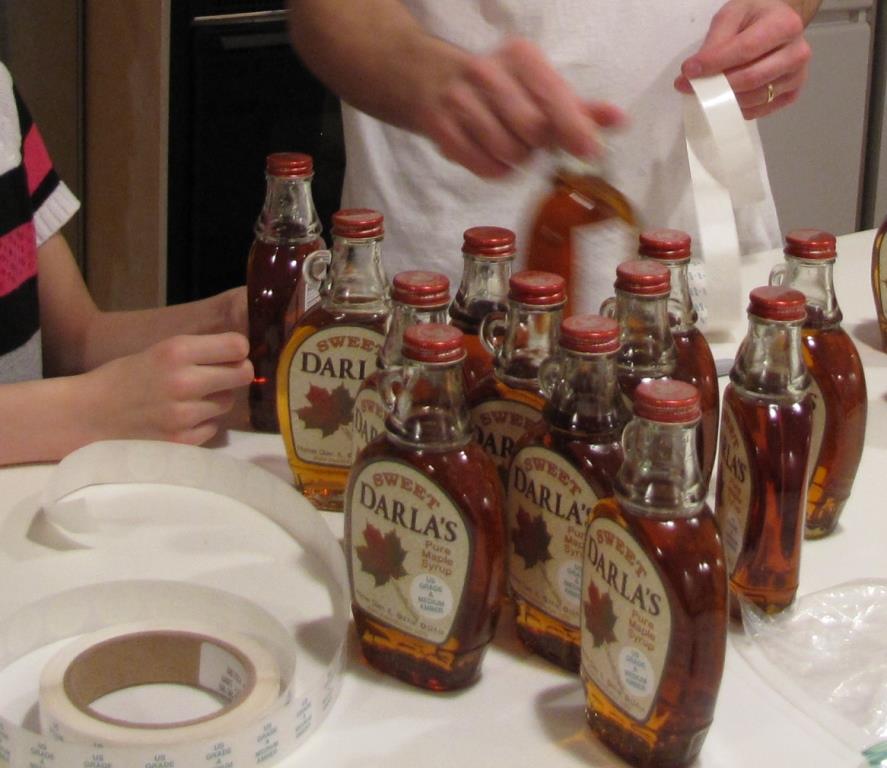
After the syrup is finished, it is bottled, capped, and placed in boiling water to kill any traces of bacteria so it can be stored at room temperature. After cooling, the bottles are ready to be labeled. I designed these labels myself with a picture of a leaf I found in the yard. The syrup is named after my daughter, Darla, who is shown in some of the pictures above (although much older now).
I hope you have enjoyed learning about what it takes to make a bottle of Sweet Darla's maple syrup. If you have any comments or questions, feel free to send them to info@sweetdarlas.com. |
©2018 Sweet Darla's |
Last Update: 26Aug2018 |